Make! Camera / Ipod Pouch
A huge thanks to the lovely Jemima over at Tied with a Ribbon for being kind enough to share her take on the camera / ipod pouch.
—————————————————————————————–
Materials
25cm x 25cm Fabric for Outside
25cm x 25cm Fabric for Lining
25cm x 25cm piece of Pellon (fusible, light weight)
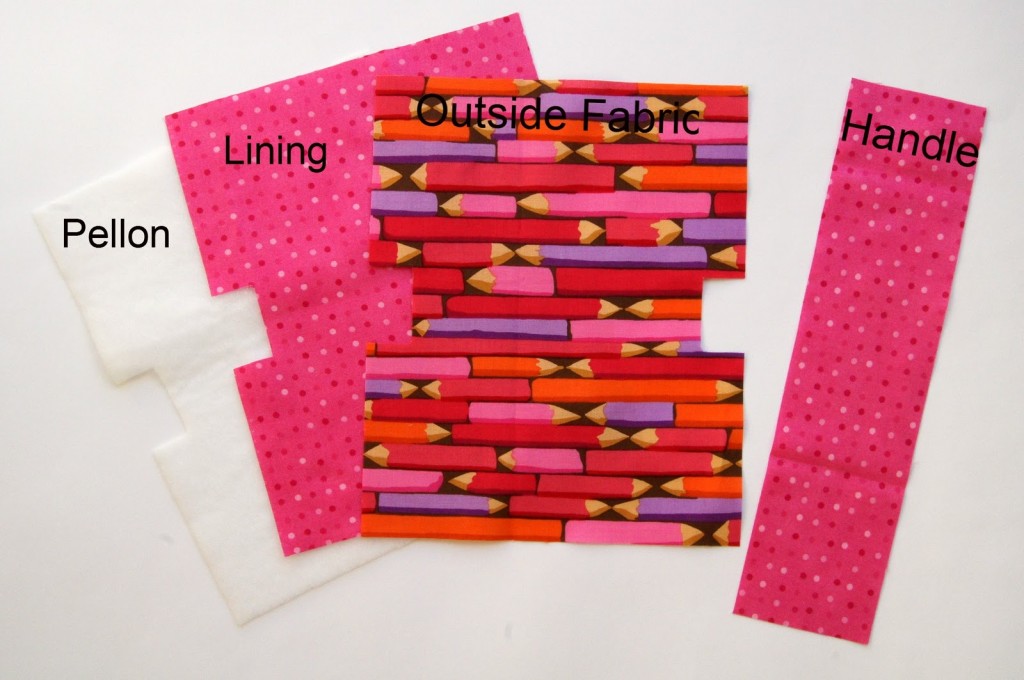
26cm x 6cm strip of fabric for Handle
3.5cm piece of Velcro (hook and loop tape)
Cotton thread
Scissors
1. Print out Pattern and cut out.
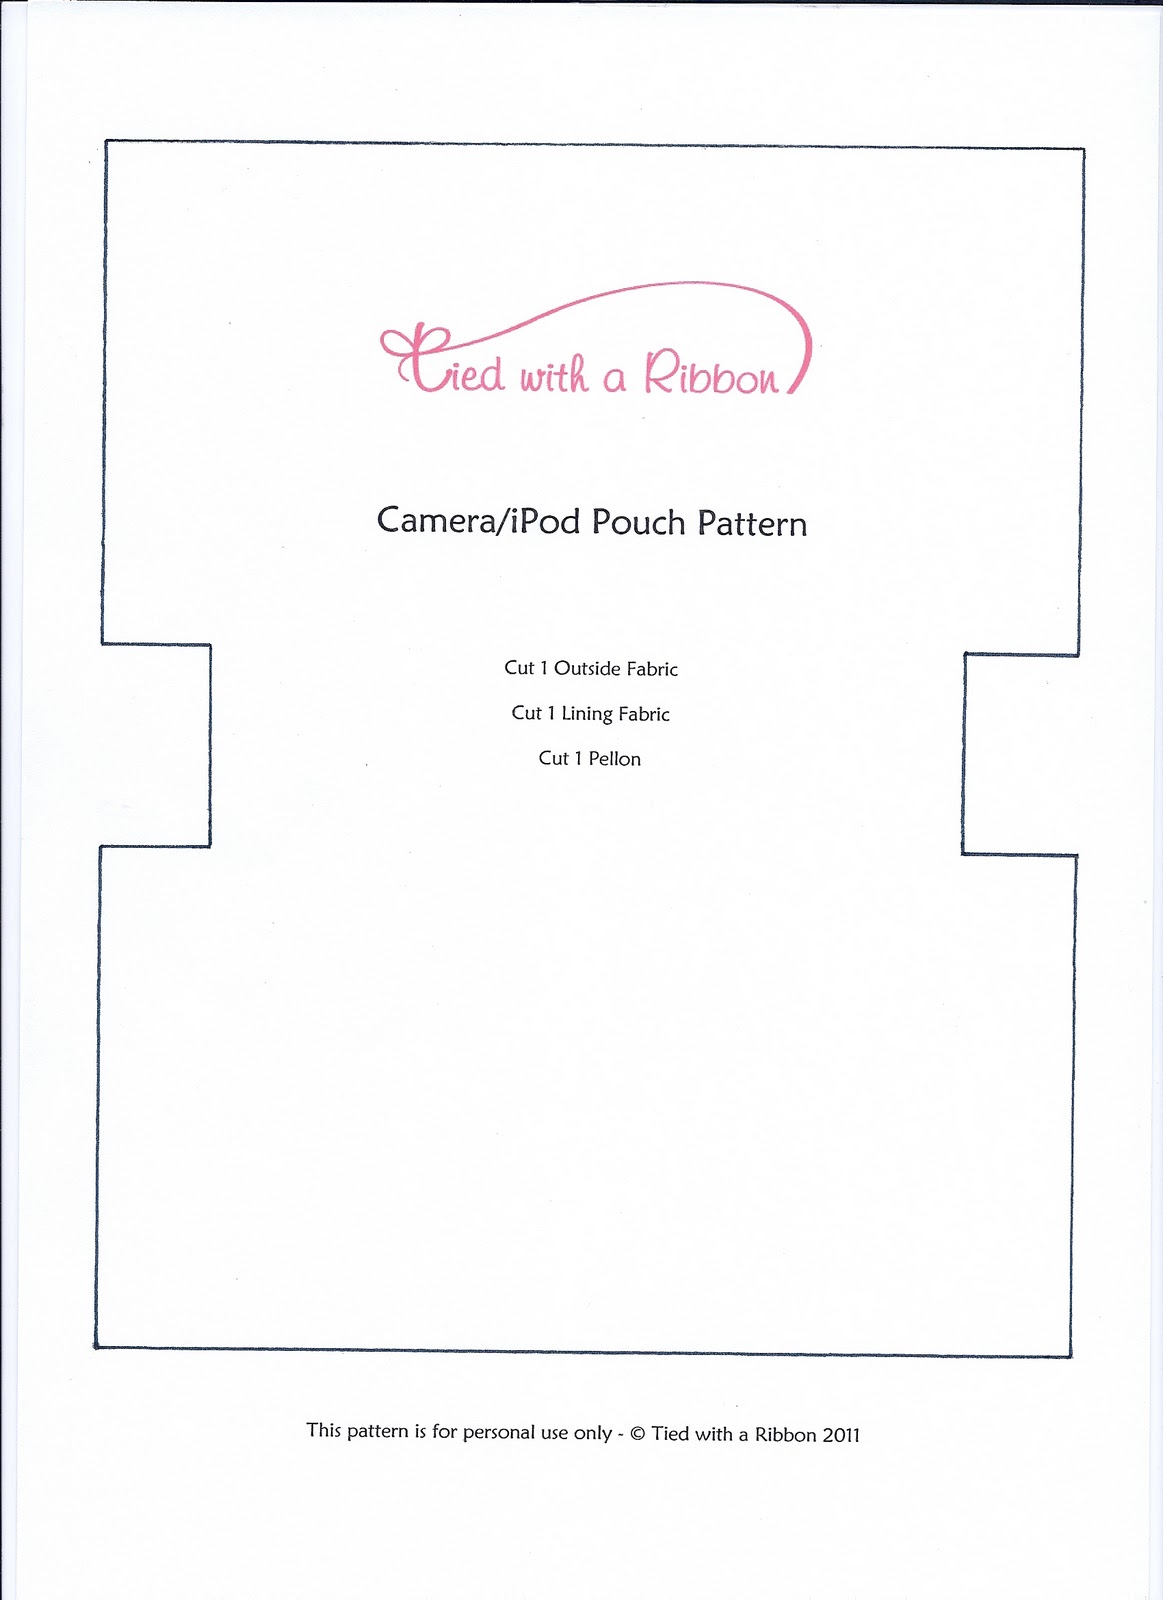
Using pattern cut out the outside fabric, lining fabric, pellon.
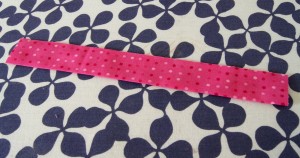
2. Cut out Handle strip to required size and iron in half with the long raw edges matching.
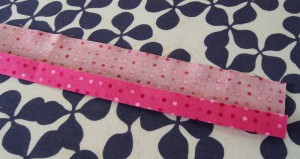
3. Unfold the handle strip and then fold one long raw edge into the centre and press.
4. Fold the other long edge into the centre and also press.
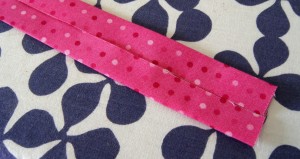
5. Fold the strip in half and press together.
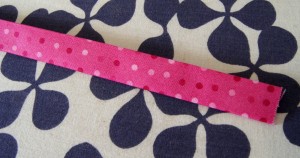
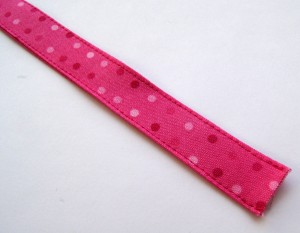
6. Stitch along the open long edge of the handle and down the other side for a neat looking finish. Set aside for later.
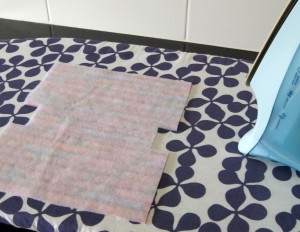
7. Iron the Pellon onto the wrong side of your outside fabric piece. (Make sure you stick it glue side down and use a steam setting on your iron!)
8. Take your outside fabric and fold in half, pin the side seams. With right sides together sew down both the side seams with a 0.5cm seam allowance.
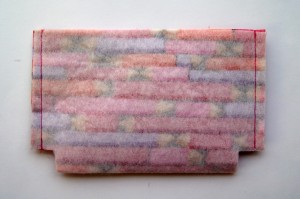
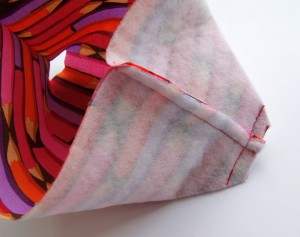
9. To make the corners, pull out the corners to have the side seam facing flat (the right sides of the fabric will be facing) in a horizontal direction.
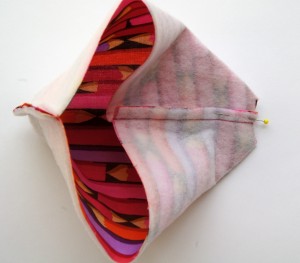
Place a pin across the seam and stitch the corner closed in the opposite direction to the side seam.
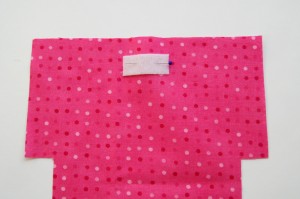
10. Take your lining and fold the top of the Camera pouch in half to mark the centre. Place one of the sides of Velcro 1.5cm down from the top and in the centre. Pin and then sew around the outside to secure.
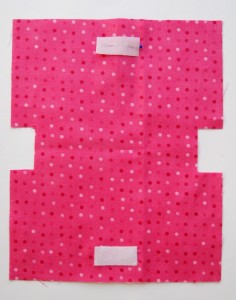
11. To make the lining repeat steps 8 and 9 as you did with your outside fabric.
12. Take your sewn outside fabric pouch and turn right way out. Take the handle and fold in half. Pin the handle in place at the right side seam with the loop falling down. Sew across the top to secure in place.

13. Take your lining and with right sides together put your lining inside your outside fabric to have the top raw edges matching. Pin at side seams and then around the pouch.
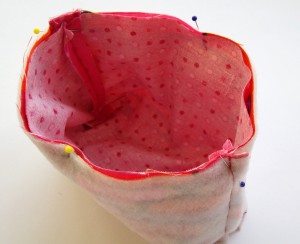
14. Sew around the top raw edge of your pouch 0.5cm leaving a 5cm gap so that you can turn inside out.
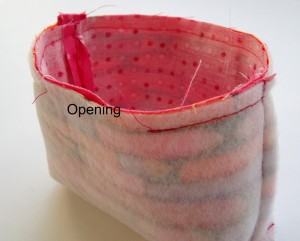
15. Turn you pouch out the right way and then pin and top stitch around the top of the camera pouch closing the opening.
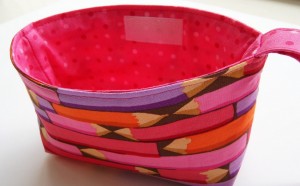
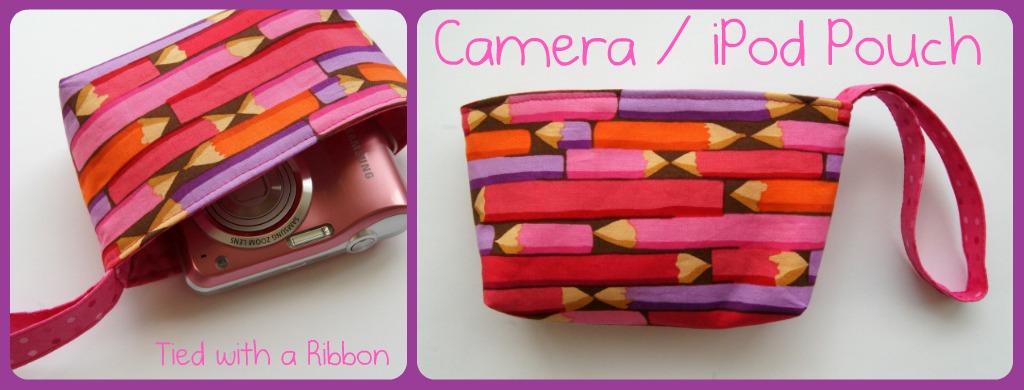
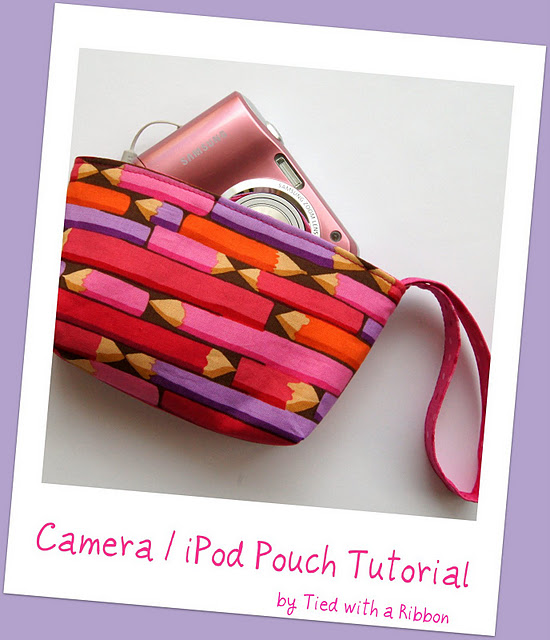
All finished – your new pouch will fit many things. Not just for your Camera but your iPod or mobile phone will fit also. You might like it to hold you lipstick or make up – what ever you like!
——————————————————————————————
Thank so much for the easy tutorial Jemima.
You can find Tied with a ribbon at:
No comments:
Post a Comment